This is Part Two of a three-part series on yoga for spinal fusion pain. Here’s Part One.
Please know I am NOT a yoga instructor, and I don’t pretend to be. Most yoga teachers have put incredible time and energy into their craft, so always take their advice over mine if you find disagreement. Also, if your orthopedic surgeon hasn’t cleared you to try yoga yet, DON’T DO IT!!! And I’m not a doctor, blah, blah, blah…

Twisting Poses!
Twists can be wonderful things. They touch the core, open the chest, and create freedom in the spine. It’s a bit of a paradox. By twisting your spine in strange ways, you strengthen it. You’ll find your connection to your back becomes more nuanced and sensitive (in a good way).
By twisting, we unwind.
If done incorrectly, these poses can actually exacerbate the pain. Here are a few things to remember before we get rolling:
- Maintain a firm base with your feet/foot. Rooting down and grounding yourself at the start of every pose not only helps your twist and balance, but enhances your sense of control over these poses. Some can be difficult or scary when you first take a crack at them (ha!).
- Do NOT overstretch! This should be obvious, but sometimes the heat makes you feel like you can do more. Don’t.
- Use your breath to assist the pose. In Breath= elongate your pose, Out Breath= deepen your twist. In= elongate/back off slightly, Out= deepen...
- Go slow. A gradual transition, moving with your breath, will serve you better than quick, jerky movements.
- Progress as you feel comfortable. Don’t aim for 100% in a twist or stretch. A “70% practice” in which you back off, even when you’re pain-free, will help prevent further injuries.
I should also note that a lot of these poses are built upon other “core” poses. I’ll reference them in the descriptions, but if you’re not familiar, you should probably look them up before attempting the twisted (“parivrtta”) version. Here we go:

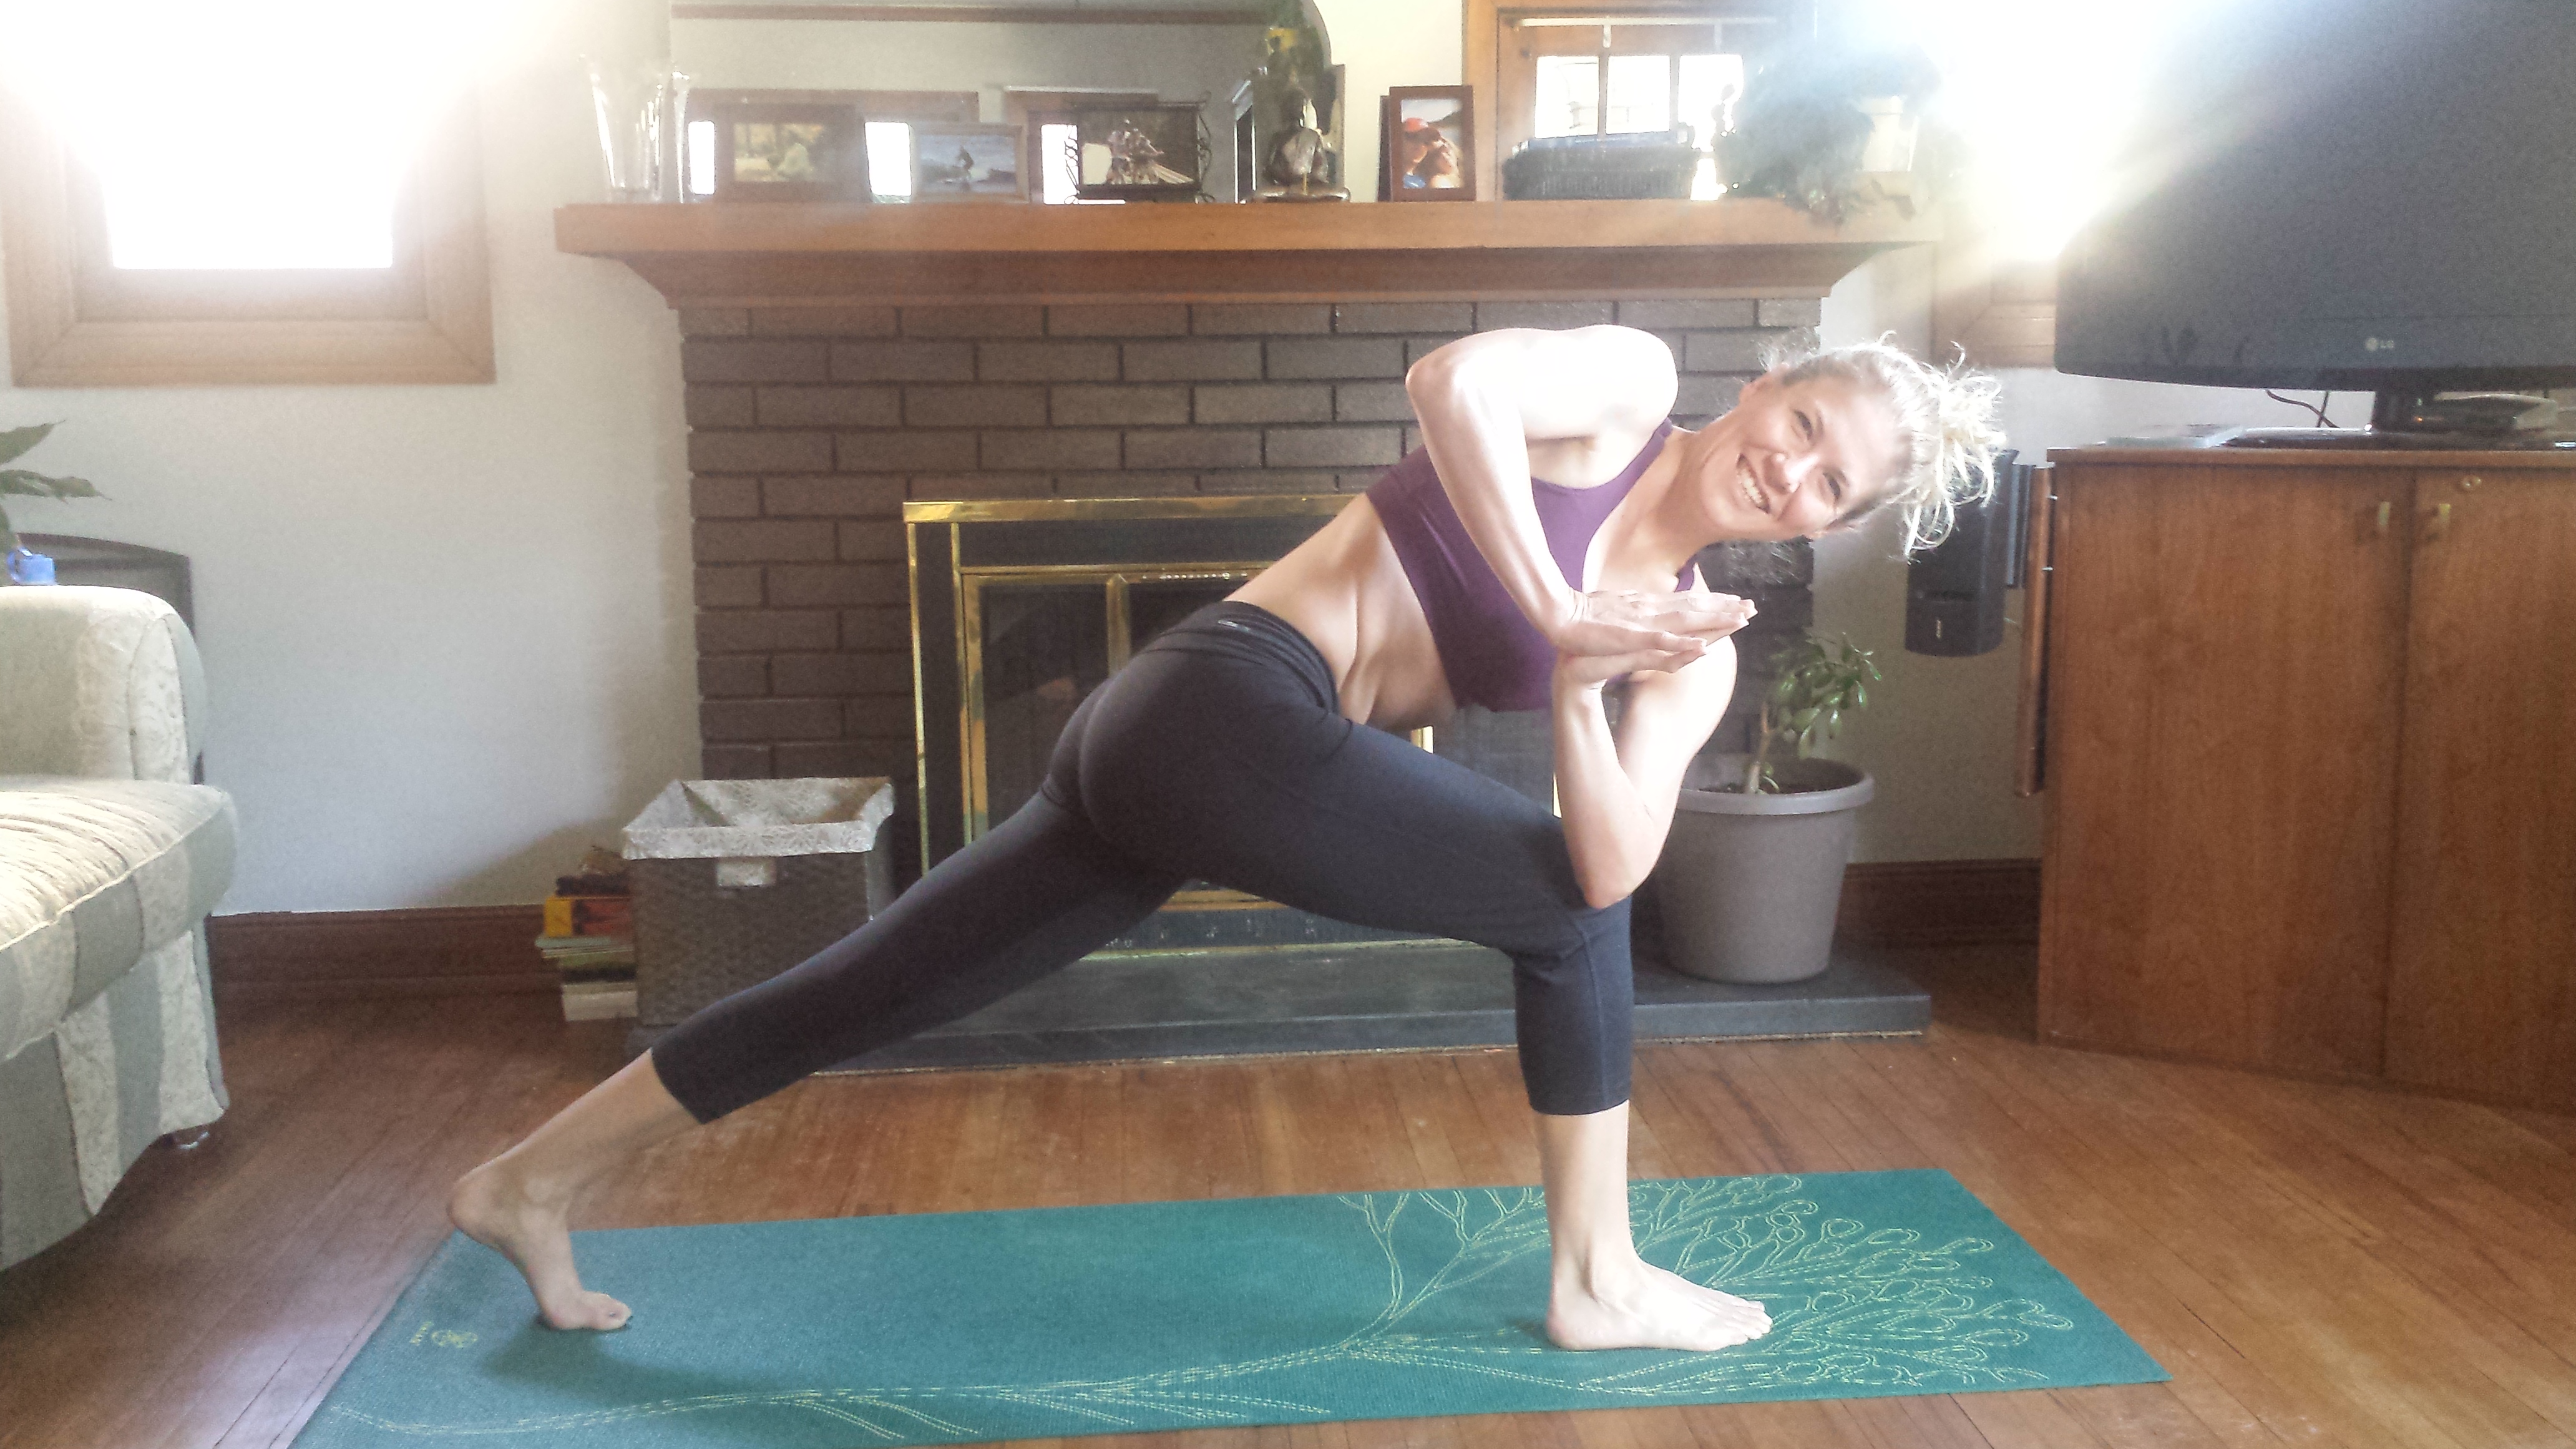
From Crescent, bring your hands to heart center. Exhale and take your elbow to the outside of your opposite knee. You can extend your arms, if you prefer. I don’t because I feel like I get a deeper twist this way…by hey. Do what feels right.

From Warrior I (similar to Crescent Pose, but your back heel is down; actually, look it up), bring your back leg in a little so when you straighten your front leg, your heel remains down. Exhale, stand tall, then bend bringing one hand to your foot/floor/shin and your other arm above you. Look up to get a deeper twist.

Stupid Chair Pose, right? Well, THIS is why I do it. Because this little baby is amazing. Once in Chair Pose, bring your elbow to your opposite knee. Look down and be sure your knees are even; your knee will tend to push itself forward. That’s not good. Again, open your arms if you prefer. I don’t.

Keep your foot grounded and your core strong here. From Triangle Pose (or Warrior II or Crescent Pose) raise your leg behind you. Keeping your supporting hand directly below your shoulder will help with balance. Once you’ve had some practice, look up. It’s fun! (and tougher than it looks!)

Flip Dog (Wild Thing…yeah, some people call it that)
…and no…this isn’t a twisting pose. But it does build strength in similar ways. From Downward-Dog (see Part 1), raise a leg directly behind you. Bend your knee and stack your hips. When you’re ready, “flip your dog.” Be sure to pay attention to your neck because this one can strain it. To get out of it, raise your arm straight up above, then flip on back. Keeping your core engaged the whole time. This is another fun one!


So, that’s it! Have fun twisting and flipping!
In my next and final installment, we’ll be talking: BALANCE POSES and BACK BENDS!


What do you think?